A quality paint job doesn’t start with paint—it starts with preparation. Most paint failures (peeling, bubbling, uneven coverage) trace back to poor prep. If you want a clean, long-lasting finish, this is where the real work happens.
Below is a practical, step-by-step approach used by professionals to get surfaces ready the right way.
Why Proper Prep Matters
Skipping prep is the fastest way to waste money.
- Paint won’t adhere correctly
- Imperfections show through the finish
- The lifespan of the paint is cut in half
- You end up repainting sooner
A properly prepped surface can make a standard paint job look high-end and last years longer.
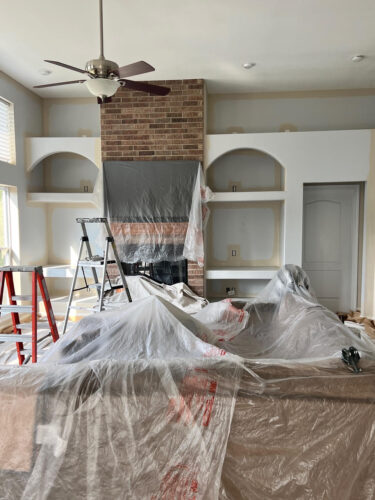
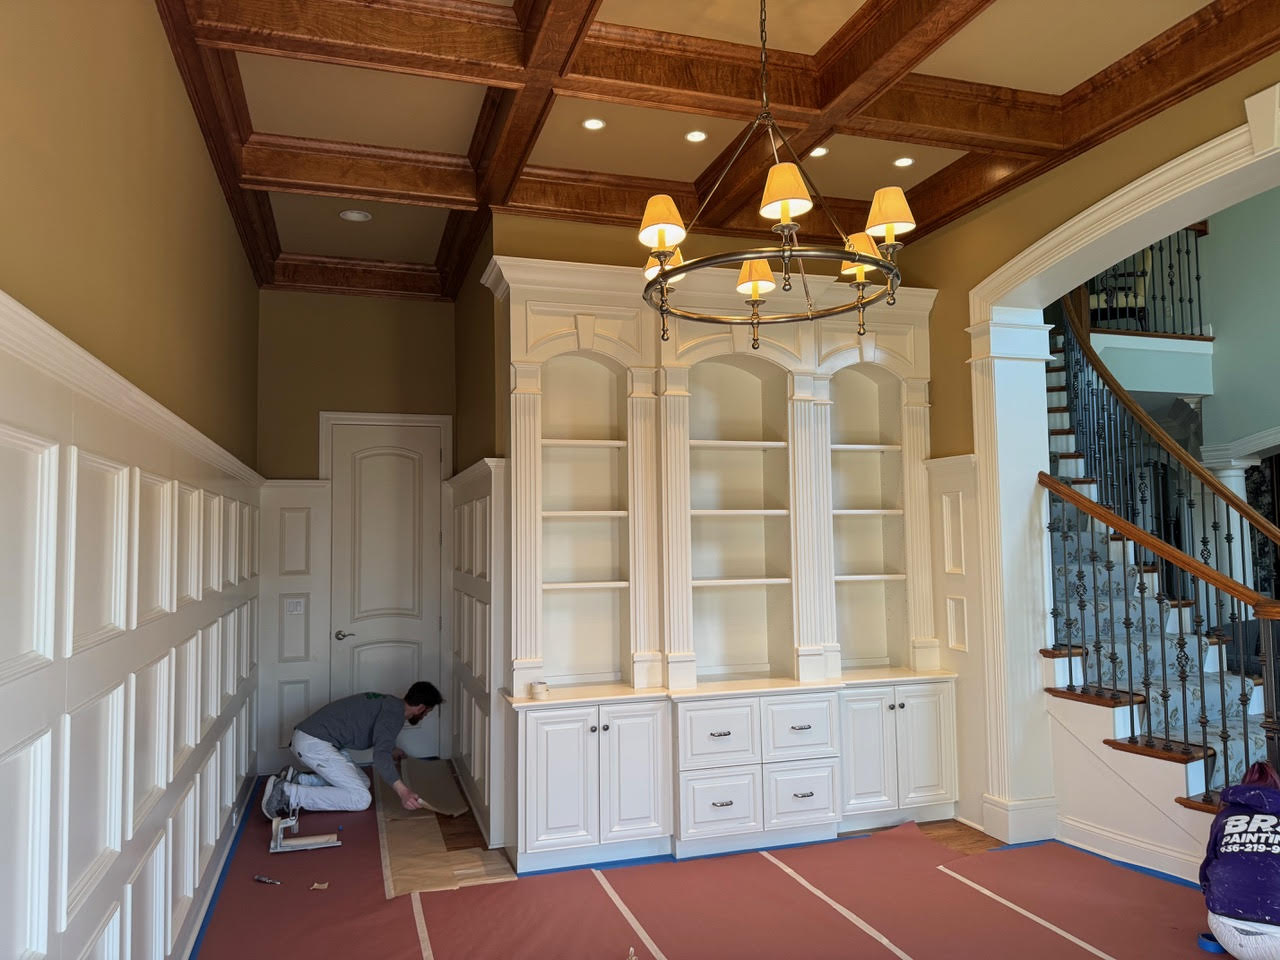
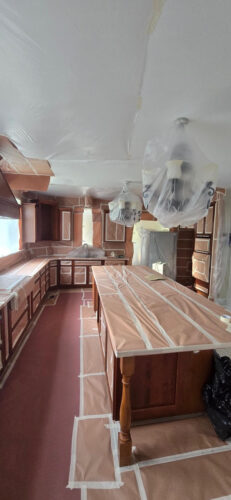
Step 1: Clear and Protect the Space
Start by creating a clean, workable environment.
Interior:
- Remove furniture or move it to the center of the room
- Take down wall décor, outlet covers, and hardware
- Cover floors and furniture with drop cloths
Exterior:
- Move patio furniture, grills, and planters
- Protect landscaping and nearby surfaces
This step is basic, but skipping it can cause damage and slow the job.
Step 2: Tape and Mask Properly
Clean lines separate professional work from DIY.
- Tape off trim, baseboards, and edges
- Mask windows, fixtures, and hardware
- Double-check alignment before painting
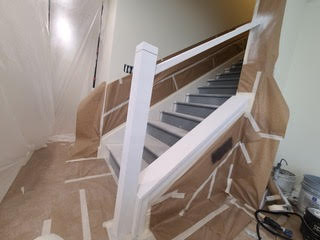
Rushed taping leads to sloppy results.
Step 3: Repair Imperfections
This is where average jobs separate from professional ones.
- Fill nail holes and dents with spackle
- Repair cracks and damaged drywall
- Replace rotted wood on exteriors if needed
- Caulk gaps around trim, windows, and doors
Paint does not hide problems—it highlights them.
Step 4: Sand for a Smooth Finish
Sanding creates a uniform surface and improves adhesion.
- Smooth patched areas
- Lightly sand glossy or previously painted surfaces
- Remove rough edges and inconsistencies
This step is often rushed, but it directly impacts the final look.
Step 5: Prime Where Necessary
In many cases, primer is not optional.
A primer may be necessary when:
- Covering dark colors
- Painting new drywall or repairing areas
- Switching between different paint types
- Dealing with stains or odors
Primer ensures even coverage and prevents bleed-through.
Step 6: Choose the Right Conditions (Critical for Exterior Painting)
In St. Charles County, MO, timing matters.
- Avoid high humidity and extreme temperatures
- Ideal range: 50–85°F
- Watch for rain in the forecast
Even the best paint will fail if applied in poor conditions.

Common Prep Mistakes to Avoid
- Not sanding glossy surfaces
- Ignoring small repairs
- Using paint without primer when needed
- Rushing the process
These are the shortcuts that lead to callbacks and repainting.
What Professional Prep Looks Like (BRS Painting Standard)
At BRS Painting, prep is treated as the foundation—not an afterthought.
- Detailed surface inspection before any work begins
- Proper patching, sanding, and caulking
- Strategic priming for durability
- Clean, protected job sites
This is why professional jobs last longer and look sharper.
Final Thought
Anyone can apply paint. Very few take the time to prepare properly.
If you want a finish that holds up, looks clean, and adds real value to your home, preparation is where the job is won or lost.
Get It Done Right the First Time
If you’re planning to paint your home in St. Charles County, MO, let BRS Painting handle the prep and the finish.
Request your free estimate today and get a paint job that’s done right from the start.